
This simple Tutorial will walk you through the process of making a cylindrical pipe.
In this Tutorial you will only need two commands:
- cylinder();
- difference();
Bebgin by creating a new model in OpenSCAD then add your first cylinder. We will make the cylinder with a Radius of 10 and a Height of 100. The cylinder will not be centered.
cylinder( r=10,h=100);
Press F5 to Render the Preview. The Press the Reset View Icon and the Magnify Icon to fully reset and center your view.

Add the second cylinder, which will be subtracted later:
cylinder(r=10,h=100);
cylinder(r=9,h=100);
Press F5, it seems like nothing happened, but the cylinder was added.

Place a # in front of the first cylinder and press f5, you will see the second cylinder inside the first.
#cylinder (r=10,h=100);
cylinder (r=9,h=100);

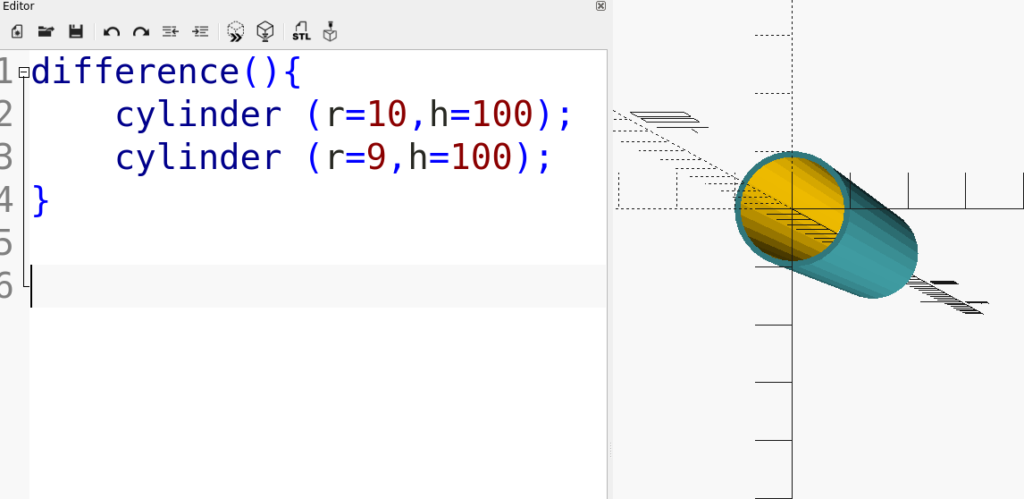
Remove the # and add the difference command in front of the two cylinders. Place a Left Curly Bracket after the difference() and after the second cylinder.
difference(){
cylinder (r=10,h=100);
cylinder (r=9,h=100);
}

The opening will look like it is partially closed off, however in the final render it will be open. Press f6 to get a final render.
